Showing posts with label card-making. Show all posts

Wednesday, September 16, 2026

Great deal on card supplies!


 As you can see, Altenew is offering 30% off the Flourishing Bouquet Complete Bundle. but only on Thursday and Friday!  Please check out the link above.

Friday, August 18, 2023

Crafty Creators


 I have already started my handmade Christmas cards for this year.  If I don't start now, I won't finish.  If I try to do them too quickly, I'll get burned out and buy store bought cards.  But people expect handmade cards from me, so I do them a few at a time.  Lately I've been fascinated with watercolor, so I watched a tutorial by "Cool Cakes and Crafts with Amalia" and copied her design the best I could, with her permission of course.  Here is my version:


The sleigh, horse, sentiment, and snowflake are  die cuts I made with my Cricut, but the sky, shadow, and snow are watercolored. What do you think?

Link up with Crafty Creators for more crafty goodness and inspiration.

Saturday, December 31, 2022

Crafty Cardmaking


My friend's birthday is on Christmas, so I always make sure to asknowledge it as her birthday.  I made her this card and gave it to her, and I think she liked it.  I thought it was cute!  Again, I took an idea from Pinterest and put my own spin on it.


Materials Used

Cricut Maker (any cutting machine will do, including the Explore series and the Joy)


Solid white cardstock


Solid black cardstock


Patterned paper from my stash

An A2 folding card and envelope


a bone folder


Mini Xyron (I already had it, but I needed refills)


Bearly Art Precision glue


Measuring tape


If you make cards, I'd love to see your creations!

I'm linking up with Inspire Me Monday and Crafty Creators.


Some of these are affiliate links meaning if you choose to make a purchase, I may receive a small compensation at no extra cost to you.  This is not a sponsored post.

Thursday, October 13, 2022

13 Things You Can Make with a Cricut


 Since it's Thursday, that means 13 things.

I recently upgraded to the Cricut Maker (previously using Explore Air 2) thanks to my husband's thoughtfulness, and there is soooooo much you can do with it!  It cuts more than 300 types of materials.  Here are a few of my ideas:


1.  Cut removable adhesive vinyl to decorate your walls.

2.  Cut permanent vinyl transfers for acrylic keychains or heat transfer vinyl for canvas bags and or tee shirts like I did in this post.

3.  Engrave cool designs on metal or make doggy/kitty tags.

4.  Create one-of-a-kind greeting cards like this one.

5.  Cut letters for titles on school projects, presentations, or scrapbooking with tons of fonts to choose from!

6.  Cut designs to use in scrapbooks.
Image Credit

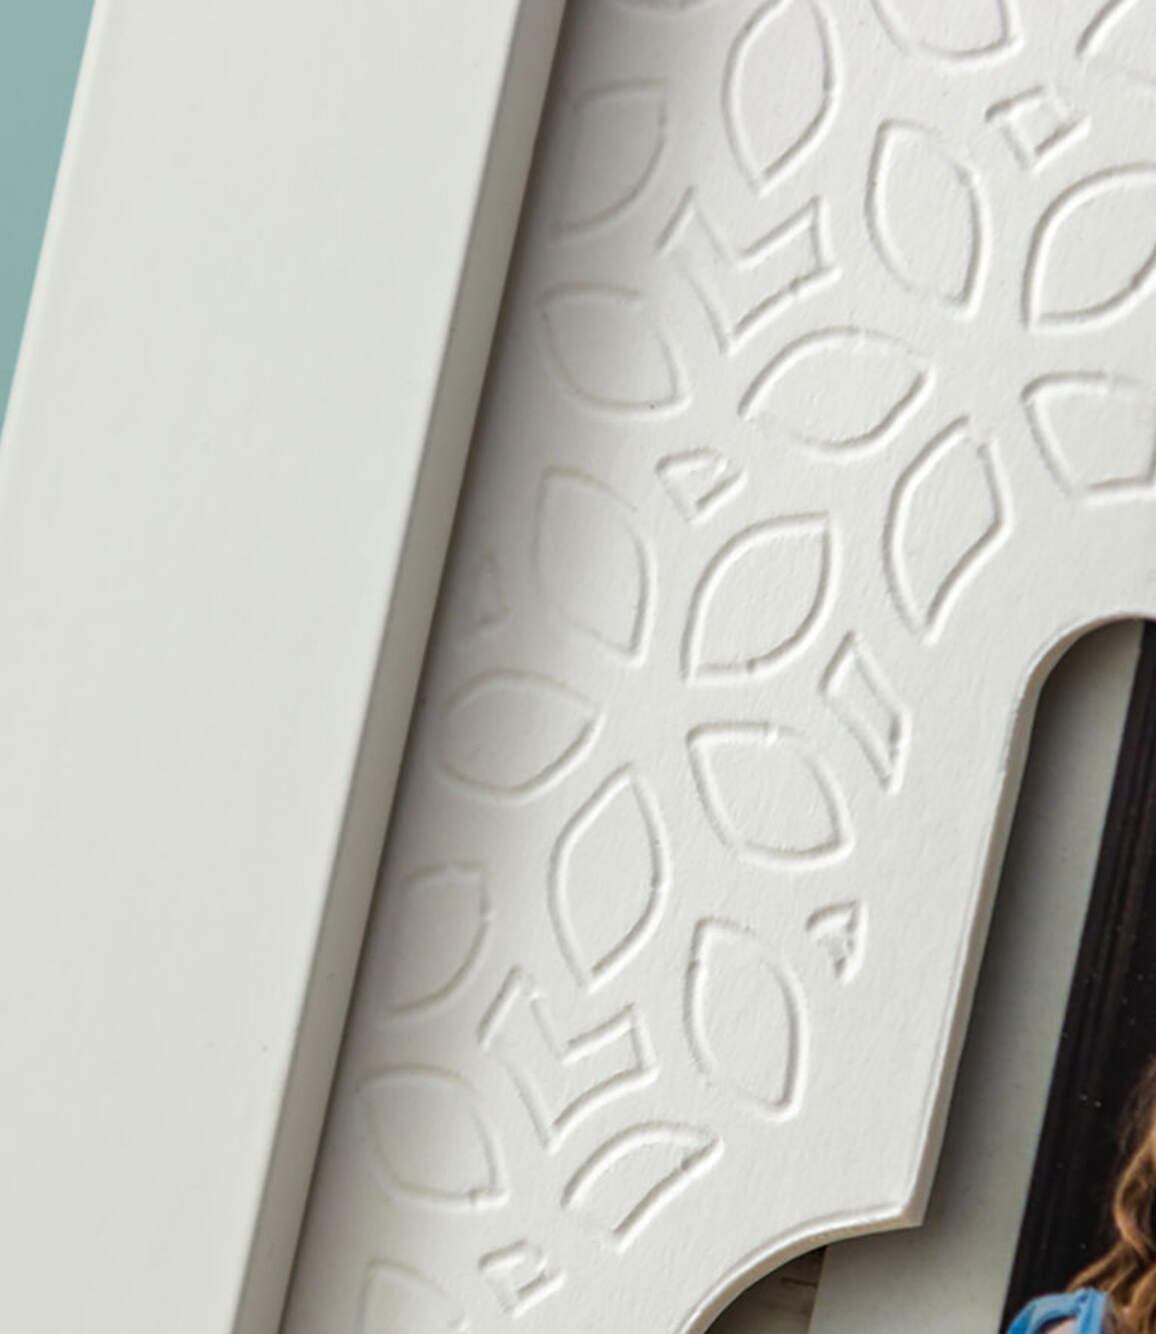
8.  Deboss designs on paper or cardstock.
Image Credit

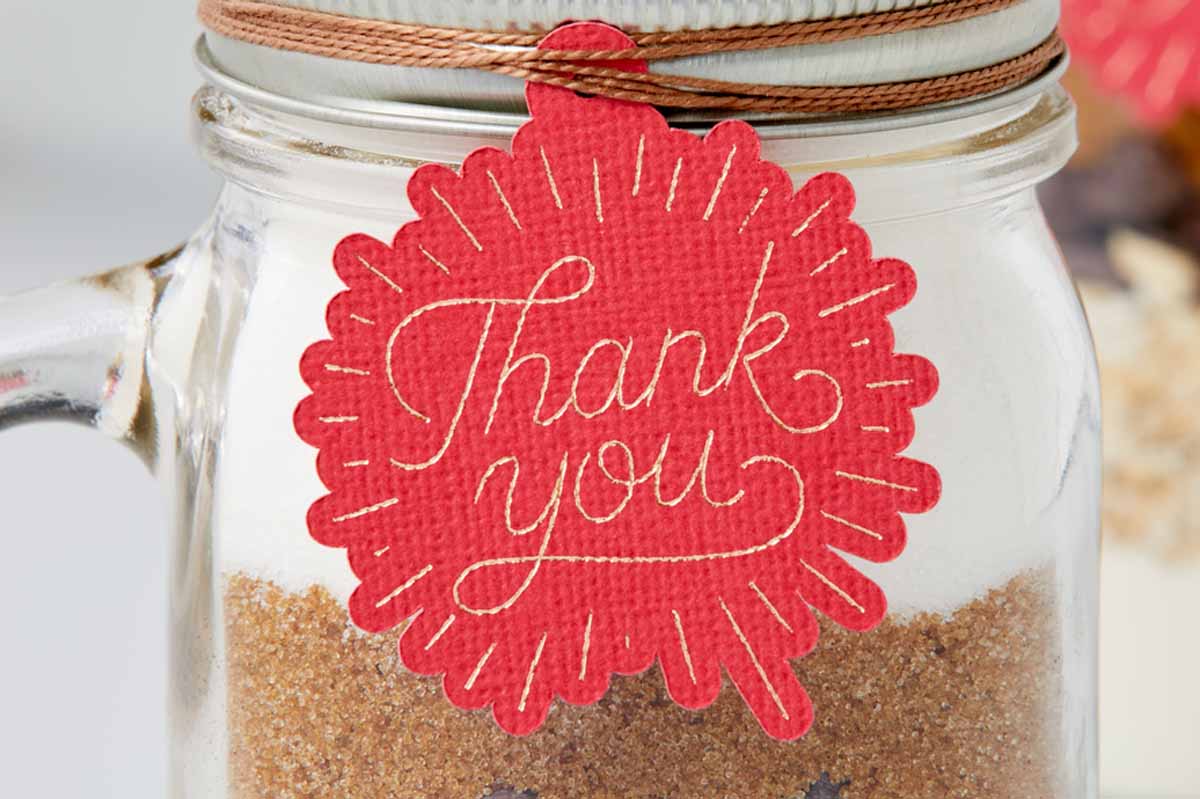
9.  Transfer foil designs and text to paper for cards or other paper crafts.
Image Credit

10. Create adorable gift bags and gift tags.
Image Credit

11. Create 3D objects with cardstock or vinyl such as a Santa mailbox, a purse, or a haunted mansion.

Image Credit

12. Cut chipboard to create something functional such as the Cricut tool holder and organizer I am making next week courtesy of Jennifer Maker.
Image Credit

13. Cut fabric up to 24 inches with the 12x24 mat, perfect for when I made my granddaughter’s quilt.

Visit Thursday Thirteen for more lists.

Most of the links in this post are affiliate links.  If you click through and choose to purchase something, I may receive a small commission.  If not, that's okay, too!  This is not a sponsored post.  All ideas are my own.

Monday, September 26, 2022

Handmade Inspiration


Over the weekend, I made a card I've been wanting to try for a while.  It's a design created by Nick Lupu-Karayanis (aka The Bearded Housewife).   I changed the igloo by giving it a black outline instead of a white outline because I thought the white outline was too much white, and it didn't stand out.  I added clear stickles (like snowflakes).

Materials Used:

Cricut Maker (but any cutting machine would work)

Die Cuts with a View 12x12 Double Sided Cardstock Stack

Recollections Essentials 12x12 Cardstock Paper

Aileen's Tacky Glue

Easy Runner Permanent Strips Tape Runner

Reverse Craft Tweezers

Stickles Glitter Glue

Please visit Happiness is Homemade and Inspire Me Monday for a variety of handmade projects.  Have a great week!

Some links in this post are affiliate links which means if you click on it and choose to purchase an item, I may receive a small commission at no extra cost to you.  This is NOT a sponsored post.


Thursday, September 15, 2022

Card-making Fun!


Hello, friends!  Today I want to share with you 3 cards I made recently.  Two were for new babies, and one was for birthday.


For this one, I used some scrap paper and my Cricut Maker.  I cut the design out of the green and had the Cricut marker add the words.  I added some adhesive lace from Hobby Lobby on the left side of the card (they don't seem to carry it anymore) and a simple bow between the onesie and the words.  This one was pretty easy, and I think it looks "just okay."


For this one, I did some ink blending first using yellow, green, and aqua from my Color Petal inkpad.  I like the way the inking turned out. I used Scrapbook.com ink blending tools with the dome shaped foam.  I layered the message Special Delivery and layered the clouds.  I used scrap paper for all of the cut images.  I had the last name on the tag in the stork's mouth, but I colored it out to protect their privacy.  The stork had 5 layers and was very tedious to put together.


I just noticed a balloon without a string!  Oops!  I used stamps from Scrapbook.com for this card.  I used the Cards for Kindness stamp set to do the "Happy Birthday" part and the Sunny Studio Birthday Balloon set.  I drew the strings with a Flair pen. I then sprayed with Tonic Studios Nuvo Mica Mist in Nebula Blue.  It tends to curl the paper, so I had to leave it under a heavy book for a while and iron it on low to get the curl out of it.

I am still learning.  If you have any tips and tricks for me, I'm open!  In the meantime, for more crafty goodness, visit Crafty Creators and Friendship Friday.  Have a great weekend!


Note:  Some of these are affiliate links.  If you choose to make a purchase, I MAY receive a small commission at no extra cost to you.  Not all links are affiliate links, and this is not a sponsored post.

Thursday, August 25, 2022

Paper Crafts


I've been paper-crafting!

This is one of my recent scrapbook pages. The base paper is from 49 and Market Vintage Artistry and the textured solid paper is from Recollections.  The accent paper is from Simple Stories Happily Ever After collection. Title and embellishments were cut with the Cricut Maker, and I added a rhinestone to the center of each flower.  The design was my own.

Sorry there is a shadow on the picture

Here is my most recent card-making project.I took a photo while the glue was still drying and at an odd angle because I was in a hurry to get it in the mail.  The words were done in Cricut's gold metallic marker (so they actually match IRL).  I used all scrap paper from my stash, adhesive, my Cricut maker, and pen. (I got the idea from Pinterest.)


I hope you enjoyed this! And I hope you'll come back.  I love posting my creations!
For more crafty fun, visit Crafty Creators and Friendship Friday.

This post may contain affiliate links.  Should you choose to purchase an item via one of these links, I may receive a small commission at no extra charge to you.  These supplies were not donated; they were purchased by me. 

Friday, August 05, 2022

It's Been Crafty around Here Lately, but


Sometimes I think I really have attention deficit!  I suppose I do, to some extent.  I have had all kinds of crafts going on here, but nothing is completed!  I start one, start another, start still another, and the next thing I know, I've begun 4 projects.

image credit and link to directions

Last week I took part in the Cardmaker Success Summit hosted by Stamp Me Some Love.  The summit is over, but you can still purchase VIP access to all of the demos and videos if you so choose.  There were so many good ones!  I really enjoyed presentations from The Bearded Housewife (he's a dude), Colorado Craft Company, and Scrap Me Quick Designs.  The only technique I've tried so far is inkblending, and I need some practice to get the desired effect!  But, the key is, I TRIED, and I KEEP TRYING, so maybe one day, I can create this:
image credit

I was asked by a former coworker to create some window box planters for her classroom and one for her bookshelf.  This is basically my first "contracted" craft assignment.  I made some arrangements for my daughter's wedding, and I used to have some in my own classroom, so this is 100% doable. 

I started by spray-painting three planter boxes with a dark purple and putting florist foam in the planters.  I've picked the moss, flowers, and leaves I want to use, so a little more to go, and I'm done.  I'm not an expert, but the key is, I CAN DO THIS!


I also started painting a little wooden owl that I may attach to one of the containers.  I like crafting with wood, paint and canvas.  So far, I just have the base coat.  I need to do a little feathering with silver and purple. She didn't ask me to do this, but the key is, I ENJOY IT!

Top trim, lining, and outer fabric purchased from Jo Ann.

Loop straps and D rings

Last, I am trying to turn these supplies into a purse with a top zipper, front pocket zipper, 3 non-zipper pockets, and straps connected to D rings.  This is a BIG project!  Yesterday I got so frustrated.  I had a beautiful topstitch on my zipper, and I had to rip it all apart and redo because I had placed the zipper the wrong way on the fabric.  But, it's going to be cute!  They key is, I KEEP TRYING.


So today I'm wishing encouragement to everyone who is trying to learn something new or trying to hone a skill.  JUST KEEP TRYING!

Hobby Lobby

P. S.  I also have plans to make this cute Grinch (or something similar) into a wall hanging,  kitchen hot mats, a tee shirt, and a dress for my darling granddaughter, and I need to get started on Christmas presents soon!  If I can do it, you can do it!

Linking with Crafty Creators and Friendship Friday.

Thursday, June 30, 2022

Birthday Cards

Hello, friends!  Thanks for stopping by today.

 These are birthday cards I made recently for my son and daughter.  I didn't use a template or an idea from Pinterest as I usually do.  I let the paper inspire me. 

The papers are from a 12x12 cardstock pack purchased at Michaels called Modern Homestead by Recollections.  I also used adhesive and foam strips from Scrapbook.com, Hero Arts Bee stamps, Ranger Distress Ink and ribbon, brad, flower, and bling I had on hand.  These are not affiliate links... just linking in case anyone sees something they would like to use.

Front of card when closed

Card when opened (Accordian fold)

Front of card when closed

Card when opened (Accordian fold)

Please visit other crafty and inspired creators at Crafty Creators and Friendship Friday.  Have a great weekend!