Showing posts with label crafts. Show all posts

Monday, September 18, 2023

Random Nonsense and Happy Times Ahead


 I'm happy to report that Mom is doing much better and completely out of the hospital.  They even took her off oxygen, and she's holding her own.  Unfortunately, I'm a little under the weather, and I need to get better now! 


My birthday is coming up, and I'll be visiting one of our daughters in Dallas first, then another in Austin. We usually take a trip right around my birthday every year.  This one will be shorter because we planned a cruise with my sister and her husband the following week.


While I'm in Dallas, my daughter and I are going to Pinner's Conference.  I'm so excited!  It's "The place where Pinterest comes to life."   There will be almost 300 booths for shopping and make-and-takes, and 120 classes in topics such as sewing, painting, cooking, health and beauty,  wellness, crafts of all kinds,  and so on.  It's going to be awesome!  And it wasn't super expensive.  We will shop, and meet new vendors (including Bearly Art), and we're attending two classes.  The last one will be over at 6, so it's going to be a full day!

When we get to Austin, we can celebrate this little cutie's first birthday (which happens in about 10 days)!


She just started walking about a week ago.  And we'll see this little beauty, too!

  Being a grandparent is such fun!

And speaking of fun, here are some funnies:


We're finally in the 90's instead of the 100's


And last, but not least...

Come link up for some fun at Random Tuesday Thoughts and Happy Tuesday.

Thursday, July 27, 2023

Crafty Creating

 Visit Crafty Creators for awesome diy, decor, recipes, and more!


This week I made each of my granddaughters castle shadowboxes using a cut file I purchased from The Bearded Housewife.  These were so much fun! They will likely be Christmas presents.  I hope they love them!


Friday, December 02, 2022

Crafty Fun


 Hello!  Well, I am slowly, but surely, getting out of my funk.  I'm still sick, but a lot better.  I lost some time with this illness!  I have things to do! 


Remember this Sweet Brown meme from 2012?


I did make time to make this canvas for our daughter's birthday next week.  She and I have loved Harry Potter since she was a little girl (she's almost 30 now).  The midnight premiers were "our thing."  And we both still love HP and everything related.  I think she is going to like this.


This is the first time I have used heat transfer vinyl on a painted canvas, and I'm really proud of how it turned out.  I took three designs from Cricut Design Space and incorporated elements from both and used Hufflepuff colors.  I ordered a wooden easel to set it on.  I can't wait to give it to her!


Materials Used:

6 inch square canvas

Apple Barrell acrylic paint, Territorial Beige

Foam paint brush

Siser heat transfer vinyl (various colors)

Heat press

Heat press mat

(Some affiliatelinks-If you make a purchase, I may receive a small commission at no cost to you. This is not a sponsored post.)

I'm linking up with Friendship Friday, Christmas Crafts and Decor, and Crafty Creators.  Visit them for more crafty fun!

Thursday, October 13, 2022

13 Things You Can Make with a Cricut


 Since it's Thursday, that means 13 things.

I recently upgraded to the Cricut Maker (previously using Explore Air 2) thanks to my husband's thoughtfulness, and there is soooooo much you can do with it!  It cuts more than 300 types of materials.  Here are a few of my ideas:


1.  Cut removable adhesive vinyl to decorate your walls.

2.  Cut permanent vinyl transfers for acrylic keychains or heat transfer vinyl for canvas bags and or tee shirts like I did in this post.

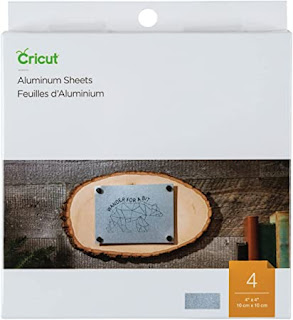
3.  Engrave cool designs on metal or make doggy/kitty tags.

4.  Create one-of-a-kind greeting cards like this one.

5.  Cut letters for titles on school projects, presentations, or scrapbooking with tons of fonts to choose from!

6.  Cut designs to use in scrapbooks.
Image Credit

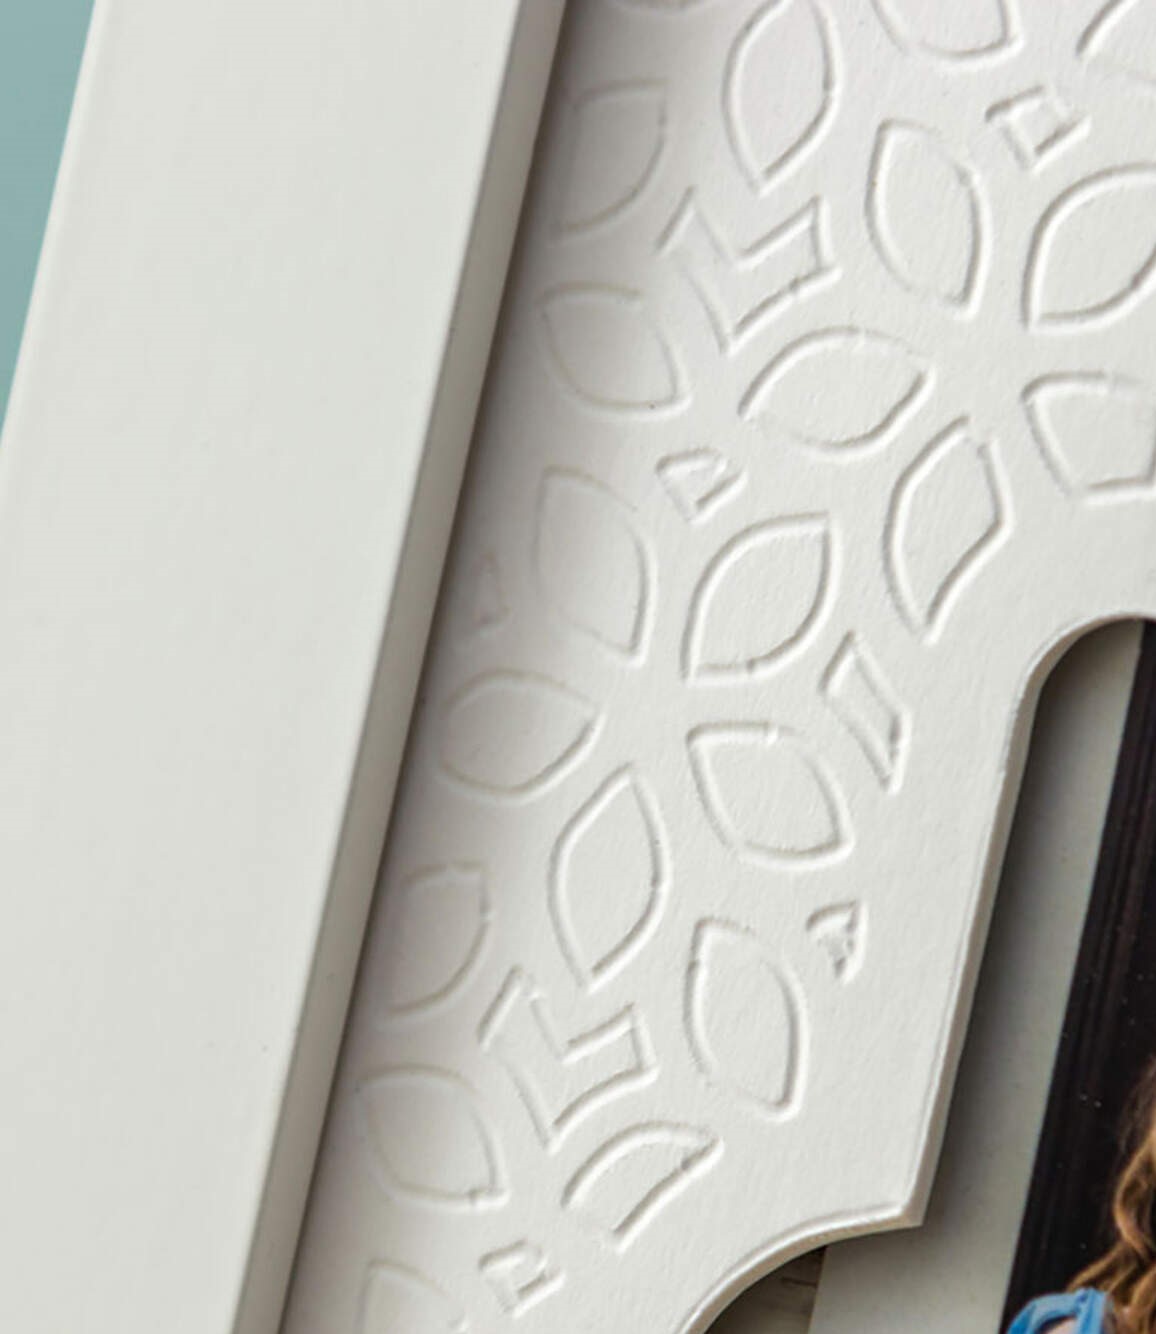
8.  Deboss designs on paper or cardstock.
Image Credit

9.  Transfer foil designs and text to paper for cards or other paper crafts.
Image Credit

10. Create adorable gift bags and gift tags.
Image Credit

11. Create 3D objects with cardstock or vinyl such as a Santa mailbox, a purse, or a haunted mansion.

Image Credit

12. Cut chipboard to create something functional such as the Cricut tool holder and organizer I am making next week courtesy of Jennifer Maker.
Image Credit

13. Cut fabric up to 24 inches with the 12x24 mat, perfect for when I made my granddaughter’s quilt.

Visit Thursday Thirteen for more lists.

Most of the links in this post are affiliate links.  If you click through and choose to purchase something, I may receive a small commission.  If not, that's okay, too!  This is not a sponsored post.  All ideas are my own.

Friday, September 30, 2022

Crafty Storage Solutions


Hi friends.  I have been very busy restructuring my craft room to make it easily accessible for all of the different crafts I like to do.  I would say that my top three crafts are scrapbooking, card-making, and sewing.  (I also love to make things with wood and canvas.)  My storage of certain items just wasn't working for me.  I had to find some solutions so this doesn't happen:

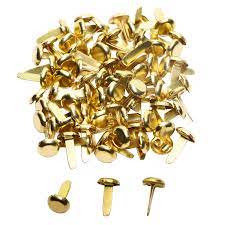
  First,  brads.  I have different types and colors, and they are small and easy to lose, so I have to have a failproof way to store them.


  I used to keep them in a sort of tackle box type container, and I thought about going back to that, but the box was actually too big. Brads are small.  I've been keeping them in tiny zip bags in some clear jewelry-type boxes on my table. 
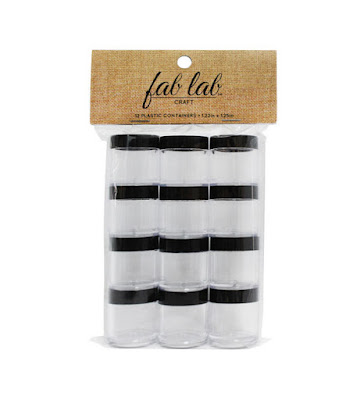
My solution is going to be to store them in these clear Fab Lab Containers and store the containers in a clear plastic bin  like these so I can see at a glance what I have and grab what I need.


(I already have them, so I didn't purchase anything new.)  I'm also going to store my stamp pads in one of these because they have outgrown the bin they are in now.

Next on my list is card-making supplies such as card fronts, folded cards, and envelopes, all in different sizes.  I decided to purchase a bin that has 6 tabs built in tabs. 


I can put them in the box and have them right at my fingertips (with labeled tabs) instead of having to dig through the photobox where they are now.  

 I am also using one of these square boxes for my patterns.  My patterns fit nicely into the medium sized plastic envelopes sold by scrapbook.com.  The medium envelopes fit nicely in the box above since the box also came from Scrapbook.com.


I have already organized my fabric into two large totes.  I folded the fabric around cardboard pieces so that I can see everything that I have at a glance and in color order.

Next, my thread and sewing notions.  Instead of this...

I've purchase an actual storage bin that is made to hold thread.   I purchased this at JoAnn.


Last, I need a solution for my embellishment flowers like these.

 I've been storing them in little buckets hooked to the bottom of my pegboard.


The buckets are cute, and I have easy access to them, but I don't like not being able to see what I have.  They are divided by color, which I like, but they could also be gathering dust.  I  watched a video today of a scrapbooker who keeps hers in plastic zip bags, but she never said where she kept the bags, so I'm open to all ideas!


My goal is to have my craft room organized so that I can easily find everything I need, and these were problem areas. I've already tamed the paper, punches, adhesives, stencils, pens, kits, and photos.  When I finish this round of organizing, all I will have left to organize are the flowers.  Any suggetions?

I'm linking up with Crafty Creators and Friendship Friday.  Come find me there!  Have a great weekend!

Some links are affiliate links, and others are not.  If you click through to purchase a product from an affiliate link, I may receive a small commission at no extra charge to you.  This is NOT a sponsored post.

Thursday, September 22, 2022

Crafty Friday

 Hi friends! Recently, I made a crossbody purse to use on our 2nd annual Great Texas Road Trip.


 It was 9x9 prior to sewing so ended up about 8x8 after seam allowances with one slip pocket on the inside made with the lining fabric and bias tape. 
This shows how long the strap is.

I learned how to make the slip pocket from YouTuber Anne Bonney Bags. I learned how to create the adjustable strap for my bag from YouTuber Le Janaro


Here is the hardware  I used, and here is the zipper.  It worked perfectly for our trip!  I needed to be able to walk hands-free in order to use my camera, but there are always certain things you want to have with you at all times.


I also made my own reversible bucket hat.  I got the free pattern from Hello Sewing which I was able to tweak to fit my smallish head, and I followed her video tutorial on YouTube. 

This hat was very useful when we visited Big Bend National Park.

Visit more crafty friends at Crafty Creators and Friendship Friday.

Some links in this post are affiliate links (not all of them) which means if you purchase an item from one of my links, I may receive a small commission at no extra cost to you.  This is NOT a sponsored post!